In the world of email marketing, ensuring your emails actually reach your subscribers’ inboxes (and not their spam folders) is often more about what’s behind the scenes than what meets the eye. At AutoSPF, we believe that proper email authentication is the foundation of trust — both with email recipients and with inbox providers. That’s why we’re walking you through how to configure AWeber for use with your own domain — focusing on the key protocols SPF and DKIM — to give your campaigns the best shot at deliverability and compliance with DMARC alignment rules.
Why SPF and DKIM (and DMARC) Matter
First, let’s step back and understand why email authentication matters at all.
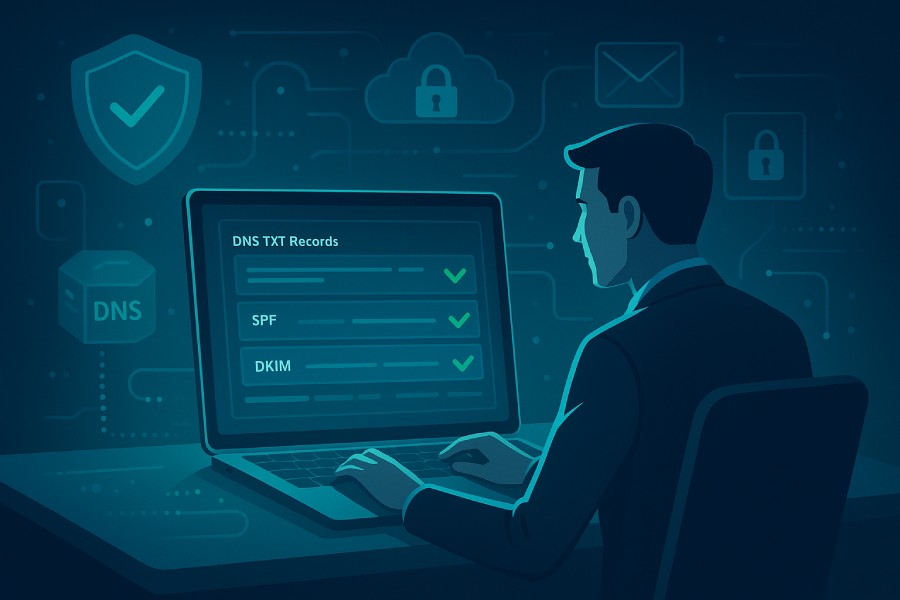
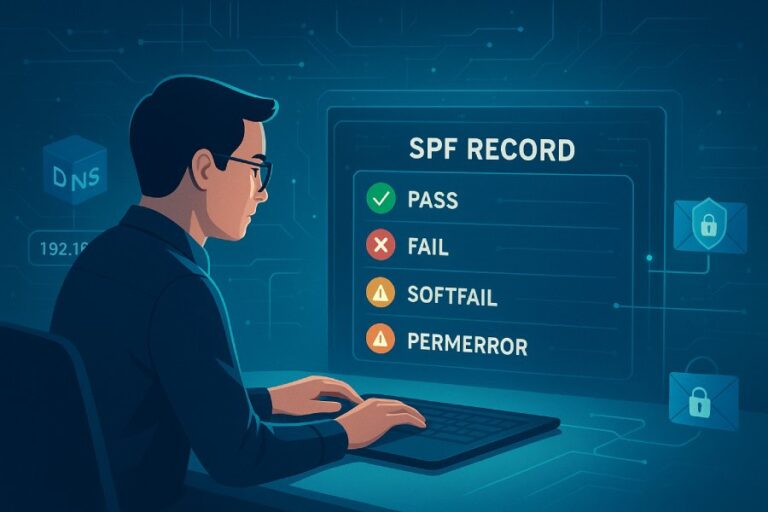
- SPF allows domain owners to publish a DNS record listing which mail servers are authorized to send email on behalf of their domain. When a recipient’s mail server sees an email, it checks the SPF record, and if the sending server’s IP is on the allowed list — SPF passes.
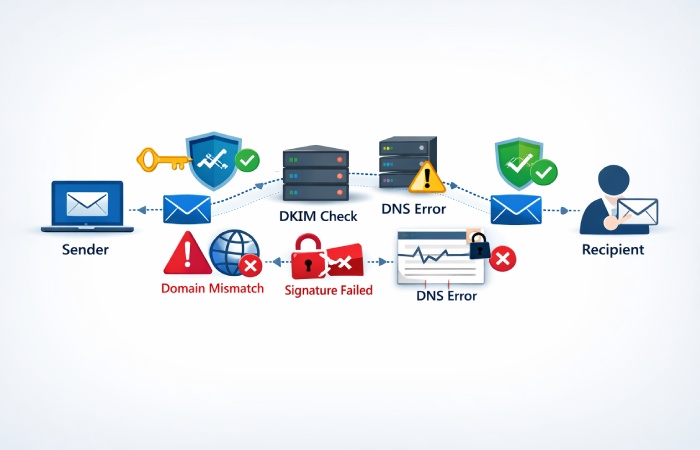
- DKIM works differently: it digitally signs outgoing emails. That signature allows the recipient server to verify that the email was indeed sent by — or at least signed by — an authorized service and hasn’t been tampered with in transit.
- DMARC ties everything together: it allows domain owners to declare a policy in DNS indicating how receiving servers should treat messages that fail SPF and DKIM checks, and — crucially — requires that the domain in the From: header aligns with the domain validated by SPF or DKIM.

For marketers using AWeber, getting DKIM (and optionally SPF) configured properly isn’t just technical overhead — it’s fundamental to protecting your sender reputation, defending against spoofing, and maximizing inbox deliverability.
The Reality with AWeber and SPF — Why It’s Often Not Enough
When using AWeber, many guides recommend adding an SPF include (for example, something like include:send.aweber.com) to your domain’s SPF record, thinking that will make everything kosher. But at AutoSPF we want to challenge that assumption, because SPF alignment depends on something deeper than just “allowing” AWeber’s servers to send.
Here’s the catch: when AWeber sends on your behalf, it uses its own servers for the “Envelope From” (also known as the “return-path”) address. The problem is that this “Envelope From” domain is typically AWeber’s domain — not your domain. That means even if you whitelist AWeber’s servers via SPF, the “Envelope From” domain doesn’t match your “From:” address domain. Under DMARC, that fails the alignment check.
So in practice:
- Adding the SPF include only unlocks the ability for AWeber’s IPs to send — but doesn’t help with alignment.
- As a result, SPF will likely pass, but SPF alignment will fail. And because DMARC requires alignment (SPF or DKIM), that means your message could still fail DMARC — or at least fail full compliance.
- That’s why relying on SPF alone — even with include — is often ineffective with providers like AWeber.
Given that, AutoSPF’s recommendation is: treat SPF as optional (or as a “nice to have”), but don’t expect it to solve your DMARC alignment problem on its own.
What You Should Do Instead: DKIM + DMARC (with DKIM Alignment)
The good news? AWeber supports DKIM, and DKIM doesn’t rely on “Envelope From” the same way SPF does. As long as DKIM is correctly set up, and the DKIM-signed domain matches your “From:” domain, your emails can pass DMARC.

Here’s how to get DKIM working for your domain when sending through AWeber (as of the latest AWeber documentation):
- Log in to your AWeber account.
- Navigate to My Account → Domains & Addresses.
- For the domain you want to authenticate, click on Setup Instructions (or “Connect Domain” if available). AWeber will present you with a set of CNAME (or TXT) records to add to your DNS.
- Copy the exact CNAME/TXT records provided by AWeber and add them in your DNS zone via your domain registrar or DNS hosting provider.
- Once records are published, return to AWeber and click Refresh or Verify — if configuration is correct, you’ll see green checkmarks beside the DKIM entries.
- (Optional but recommended) If you haven’t yet, publish a DMARC record for your domain — using either a “monitor only” (p=none) policy or a stricter policy (quarantine/reject) as you grow more confident.
Using DKIM (plus DMARC) ensures that — even though AWeber handles the actual sending — your domain remains aligned for authentication, and your reputation as a sender remains intact.
Why AutoSPF — and Why We Emphasize DKIM Over SPF with AWeber
At AutoSPF, our philosophy is simple: don’t just “check the box” — set up what actually works. When it comes to third-party email service providers (ESPs) like AWeber, the naive approach of “just add the SPF include, done” often fails to deliver on the promises of DMARC compliance and inbox delivery.
Here are the reasons we prefer DKIM + DMARC alignment:
- Higher reliability — DKIM doesn’t depend on “Envelope From” or return-path domains; it depends on the domain you control (so long as you sign with your domain’s private key).
- Better compliance — DMARC requires alignment. DKIM makes alignment feasible even when the ESP handles the sending.
- Less maintenance — Once DKIM is set up, you don’t need to constantly update IPs or SPF includes. DKIM keys stay valid until rotated.
- Less risk of “DNS lookup exhaustion.” Every “include” in an SPF record counts towards DNS lookup limits. If you have many services sending on your behalf, you risk hitting that limit. Relying on SPF for multiple services can be fragile.

In short — DKIM + DMARC is a cleaner, more robust, and more future-proof solution than SPF “whitelisting,” especially if you’re using an ESP like AWeber.
Putting It All Together — Step-by-Step Checklist by AutoSPF
If you’re using AWeber and want to make sure your domain’s email setup is solid and DMARC-compliant, here’s a simple checklist to follow:
- Log in to AWeber → go to My Account → Domains & Addresses.
- For the domain in question, click Setup Instructions (or “Connect Domain”). Let AWeber generate the DKIM records.
- Copy the CNAME/TXT records as-is, and add them in your DNS provider’s control panel.
- Wait for DNS propagation (can take up to 24–48 hours, depending on provider).
- Return to AWeber and click Refresh / Verify — ensure you see confirmation (green checkmarks).
- (Optional but strongly recommended) Publish a DMARC record for your domain — for example:
Host: _dmarc.yourdomain.com Type: TXT
Value: v=DMARC1; p=none; rua=mailto:dmarc-reports@yourdomain.com; sp=none; aspf=r; adkim=r;- Test by sending a message to yourself (or a controlled inbox), then inspect the email headers: verify that dkim=pass and optionally spf=pass. Confirm that DMARC passes (aligned).
- Monitor deliverability and gradually consider tightening DMARC policy (for example, moving from p=none to p=quarantine or p=reject) once you are confident the setup is stable.
What If You Do Add SPF Include Anyway?
You might wonder: “What harm is there if I still go ahead and add include:send.aweber.com (or similar) to my SPF record?” — after all, more authorization can’t hurt, right? At AutoSPF we caution: it’s not always beneficial, and in some cases, it can be misleading.
- Yes — it will ensure AWeber’s mail servers are explicitly allowed to send on behalf of your domain.
- But no — it does not guarantee DMARC alignment or compliance, because the “Envelope From” remains the ESP’s domain, not yours.
- Moreover — each include adds to DNS lookups during SPF evaluation. If you already use multiple third-party services (mailing services, CRMs, newsletter tools), you risk hitting the lookup limit and causing SPF to fail altogether.
Therefore, if you choose to add the SPF include, treat it as a “whitelist” — but not as a solution for DMARC. Your real deliverability and compliance will still depend on DKIM + DMARC alignment.

AutoSPF’s Recommendation for AWeber Users
For anyone using AWeber as their email marketing platform and also using a custom domain:
- Don’t rely on SPF alone. While AWeber may suggest adding their include to your SPF record, this does not fix DMARC alignment because AWeber controls the Envelope-From domain.
- Focus on DKIM: set up the DKIM records as provided by AWeber, verify them, and sign all outgoing messages with your domain’s keys.
- Publish a DMARC record to declare your policy and enable reporting — this helps you monitor for abuse and invalid usage of your domain.
- Use SPF only as a backup/whitelist if you have other sending services, but don’t expect it to solve alignment issues.
At AutoSPF, we believe that proper email authentication is not optional — it’s essential. With DKIM + DMARC configured correctly, you build trust with ISPs, protect your domain’s reputation, and ensure your emails reliably reach your audience’s inboxes — not their spam folders.


