How to Set Up DKIM for Engaging Networks

Quick Answer
To set up DKIM for Engaging Networks, generate your DKIM record, add the provided TXT record to your domain's DNS settings, wait for DNS propagation, and verify the configuration. A correctly configured DKIM record helps authenticate emails, improve deliverability, and reduce spoofing.
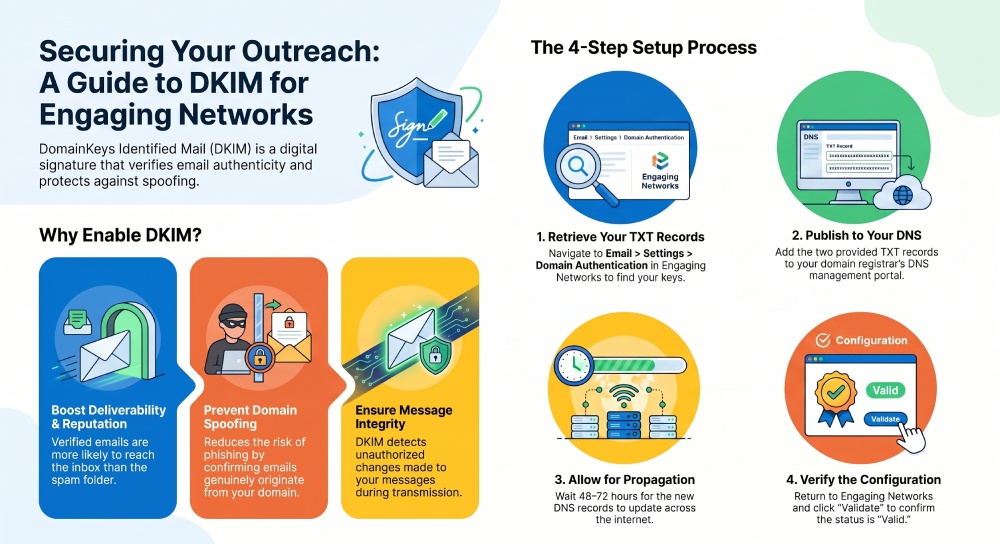
Email authentication plays a vital role in protecting your domain from spoofing and improving email deliverability. One of the most effective authentication methods is DomainKeys Identified Mail (DKIM), which digitally signs outgoing messages to verify that they were sent from an authorized source and have not been modified during transmission.
If you use Engaging Networks to send email campaigns, you’ll need to publish the DKIM records provided by the platform in your domain’s DNS. This guide walks you through the process.
Why Enable DKIM for Engaging Networks?
Configuring DKIM offers several advantages:
- Confirms that emails are genuinely sent from your domain.
- Protects message integrity by detecting unauthorized changes.
- Improves sender reputation and email deliverability.
- Supports DMARC compliance when combined with SPF.
- Reduces the risk of phishing and domain impersonation.
Locate Your DKIM Records in Engaging Networks
Before updating your DNS, you need to obtain the DKIM information from your Engaging Networks account.
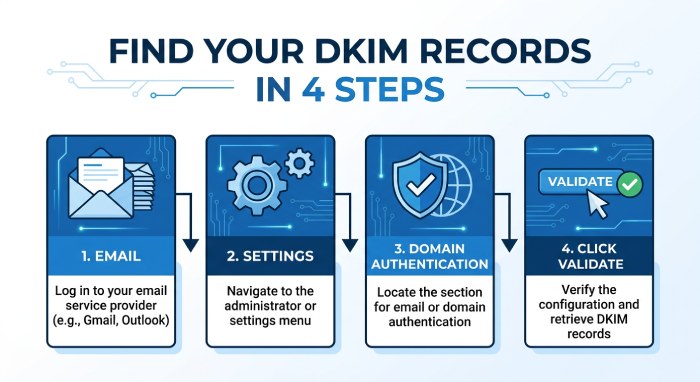 Follow these steps:
- Sign in to your Engaging Networks account.
- Navigate to Email.
- Open Settings.
- Select Domain Authentication.
- Find the domain you want to authenticate.
- Click Validate next to the domain.
The validation process checks whether the necessary authentication records already exist in your DNS.
After the scan completes, you’ll see your authentication status:
- Valid indicates the required DNS records are already published correctly.
- Invalid means one or more records are missing or incorrect and need to be added to your DNS.
You should also be able to view the DKIM record details that Engaging Networks expects for your domain.
Note: If you’re following screenshots from Engaging Networks documentation, replace any example domain names with your own registered domain.
Publish the DKIM Records in Your DNS
Once you’ve copied the DKIM information from Engaging Networks, add it to your DNS provider.
Step 1: Access Your DNS Management Portal
Log in to the account where your domain’s DNS is managed. This could be your domain registrar or DNS hosting provider.
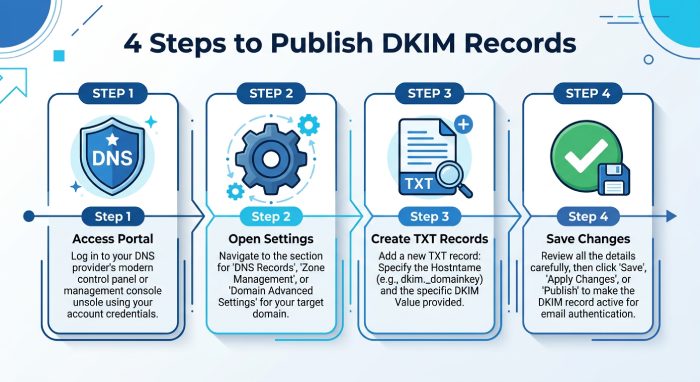
Step 2: Open DNS Settings
Go to the section where DNS records can be created or edited.
Step 3: Create the Required TXT Records
Add the two TXT records supplied by Engaging Networks.
For each record:
- Enter the Host/Name exactly as provided.
- Paste the corresponding DKIM public key into the Value field.
- Leave the TTL at the default value unless your DNS provider recommends otherwise.
Accuracy is important—even a small typo can prevent DKIM from functioning correctly.
Step 4: Save Your Changes
After entering both records, save the configuration.
Wait for DNS Propagation
DNS updates are not always immediate. Depending on your DNS provider, it may take anywhere from a few hours to 48–72 hours before the new records are visible across the internet.
During this period, the DKIM status in Engaging Networks may continue to show as pending or invalid until propagation is complete.
Verify Your DKIM Configuration
After the propagation period:
- Return to Email > Settings > Domain Authentication in Engaging Networks.
- Run the validation process again.
- Confirm that your DKIM records are detected successfully.
If the records still fail validation, review the DNS entries carefully to ensure the hostnames and public keys match exactly what Engaging Networks provided.
Best Practices for DKIM
To get the most value from DKIM, consider these recommendations:
- Publish the records exactly as provided by Engaging Networks.
- Avoid modifying the DKIM public key.
- Allow enough time for DNS propagation before troubleshooting.
- Test your DKIM configuration after deployment.
- Pair DKIM with SPF and DMARC for stronger email authentication and improved protection against spoofing.
Conclusion
Setting up DKIM for Engaging Networks is a straightforward process that significantly improves your domain’s email security. By retrieving the DKIM records from your Engaging Networks account, publishing them in your DNS, and validating the configuration, you help ensure your messages are authenticated and trusted by receiving mail servers.
For the best email security and deliverability, combine DKIM with properly configured SPF and DMARC records to create a complete email authentication framework.
General Manager
Founder and General Manager of DuoCircle. Product strategy and commercial lead for AutoSPF's 2,000+ customer base.
LinkedIn Profile →