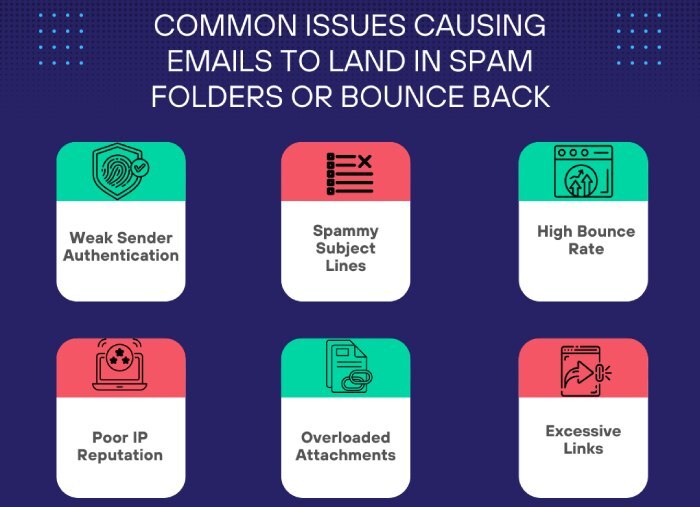
If you send emails using the Omnisend platform and still don’t have SPF, DKIM, and DMARC in place, then your emails can get blocked. Deploying and managing these email authentication protocols is important for enhanced email deliverability and prevention from phishing.
Irrespective of how many emails are sent from your domain daily or monthly, you need to set up these protocols. Here are the steps to help you through the process.
Setting up SPF for Omnisend
Setting up SPF records for Omnisend allows you to enlist all the servers that you officially authorize to send emails on your behalf. Emails sent from your domain through any server outside of the list either land in the recipients’ spam folders or bounce back, preventing instances of phishing and spoofing.

You can add Omnisend as an authorized sender by creating a new SPF record or updating the existing one. Firstly, we are enlisting steps to create a new one.
- Use an online SPF record generator tool to produce a TXT record. You can also generate it manually, but we don’t encourage that approach as it’s time-consuming and more prone to erroneous records.
- Authorize Omnisend as a trusted sender by entering ‘mailgun.org’ in the ‘authorize third-party domain’ field in the tool. This is because Omnisend uses Mailgun to send emails.
- Publish the SPF TXT record you generated in your domain’s DNS. To do so, log in and go to your DNS management console or ask your hosting provider to add it on your behalf.
- Use an SPF lookup tool to check the correctness of your SPF record and ensure Omnisend is added as an authorized sender.
If you already have an SPF record, then follow these steps to edit it and add Omnisend.
- Use an SPF checker tool to find your current SPF record. For example, it might look like this: v=spf1 include:_spf.example.net -all.
- Add Mailgun as an approved sender for Omnisend. Your updated SPF record would be: v=spf1 include:mailgun.org include:_spf.example.net -all.
- Go to your DNS management console, edit the SPF record, and save your changes.
- Wait up to 24 hours for the changes to take effect.
Setting up DKIM for Omnisend
Here are simple steps to set up a DKIM record for Omnisend:
- Log in to your Omnisend account and go to Store Settings > Sender Domains.
- On the Sender Domains page, go to ‘Your sender domains’ and click on ‘+ Add sender domain’ to log in to your domain.
- Enter your domain name.
- Your domain’s DKIM record can be found on the ‘Domain Authentication’ page. It will be a TXT record that includes your public key and name. This record must be added to your DNS settings, and it may take up to 24 hours for the authentication mechanism to become active.
Setting up DMARC for Omnisend
- Use an online record generator to produce a DMARC record. It’s good to start with the ‘none’ policy and then gradually move to ‘quarantine’ and ‘reject.’
- Log in to your DNS management console and add the DMARC record created in the first step.
- Use an online DMARC record lookup tool to check its accuracy.
If these steps are too much to handle for you, reach out to us for help with our automatic SPF flattening tool.

