Brevo is a digital marketing platform that caters to the marketing and communication needs of businesses. Its suite of tools and services includes email marketing, SMS marketing, marketing automation, CRM, landing pages, Facebook ads, and much more.
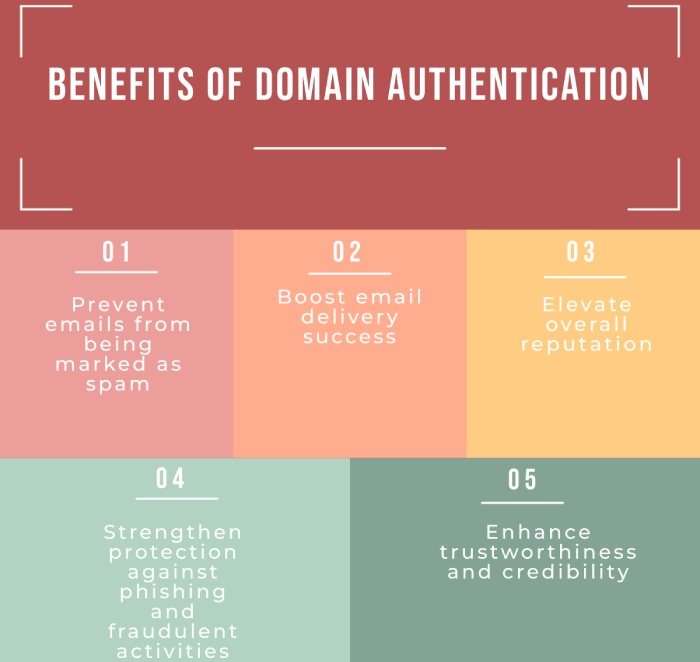
If you use Brevo for email marketing, then deploying SPF, DKIM, and DMARC or making changes to the existing SPF, DKIM, and DMARC records is vital for maintaining the integrity and legitimacy of emails. Otherwise, unprotected emailing will be a security vulnerability that threat actors can easily exploit to send phishing and spoofing emails to your customers and prospects.
With email authentication protocols in place, you can control how legitimate emails sent from your domain will be treated by recipients’ mailboxes, preventing phishing incidents in your brand’s name. Implementing SPF, DKIM, and DMARC has become all the more important since Google, Yahoo, Microsoft, and other mailbox providers made it mandatory.

Configuring SPF record for Brevo
Brevo users don’t have to configure their SPF records manually. It doesn’t provide an SPF record because SPF’s authentication process uses the Envelope Sender, which is managed by Brevo’s internal server. So, you don’t need to explicitly authorize Brevo as a sender for your domain.
Even if you add “include:spf.sendinblue.com” to your SPF record, SPF authentication will still fail. So, the best option is to skip it altogether.
Configuring DKIM record for Brevo
You can manage DKIM for Brevo either automatically or manually. We are mentioning both-
Automatic DKIM setup for Brevo
- Sign in to your Brevo account.
- Click on ‘Authenticate automatically,’ followed by clicking ‘Continue’ in the pop-up box that appears.
- You will be asked to enter your domain host credential. Once done, click ‘Continue.’
That’s it, and the process will be completed.
Manual DKIM setup for Brevo
- Sign in to your Brevo account.
- You will see your DKIM TXT record, which you need to copy.
- Go to your DNS management console and publish the record you copied in the last step.
- Click ‘Save’.
Once done, wait for 24 to 72 hours for the information to propagate across the internet.
Configuring DMARC record for Brevo
Just like DKIM, DMARC setup can also be done manually as well as automatically–
Automatic DMARC setup for Brevo
- Sign in to your Brevo account.
- Click on ‘Authenticate automatically,’ followed by clicking ‘Continue’ in the pop-up box that appears.
- You will be asked to enter your domain host credential. Once done, click ‘Continue.’
Manual DMARC setup for Brevo
- Sign in to your Brevo account.
- You will see your DMARC TXT record, which you need to copy.
- Go to your DNS management console and publish the record you copied in the last step.
- Click ‘Save’.
Once done, wait for 24 to 72 hours for the information to propagate across the internet.
Final step
To verify your Brevo DMARC and DKIM record setups, click “Authenticate this email domain” at the end of the domain authentication page. You will see a green checkmark and “Value matched” messages if your records are correct. If the setups are incorrect, “Value mismatched” messages will appear. You can check your records multiple times by clicking “Check configuration” under your domain and then “Authenticate this email domain”.
Regularly verifying your Brevo DMARC and DKIM records is crucial for maintaining robust email security. Ensuring that your records are correctly configured helps protect your domain from unauthorized use and phishing attacks.


