How to Set Up DMARC in cPanel: Complete SPF, DKIM & DMARC Configuration Guide

Quick Answer
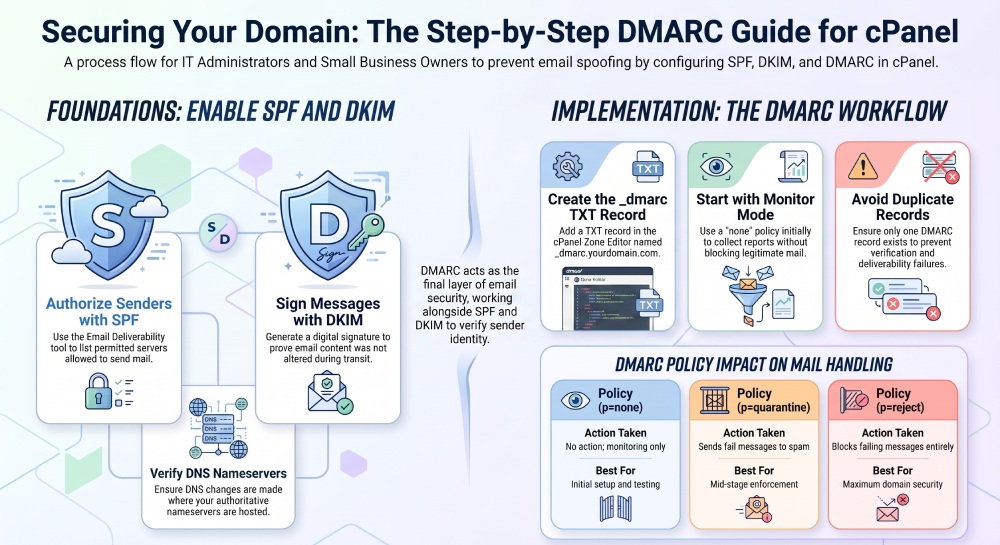
To set up DMARC in cPanel, first enable SPF and DKIM, then add a DMARC TXT record in the Zone Editor. Start with p=none to monitor reports, verify DNS propagation, and move to p=quarantine or p=reject to stop email spoofing and improve deliverability.
Try Our Free DMARC Checker
Validate your DMARC policy, check alignment settings, and verify reporting configuration.
Check DMARC Record →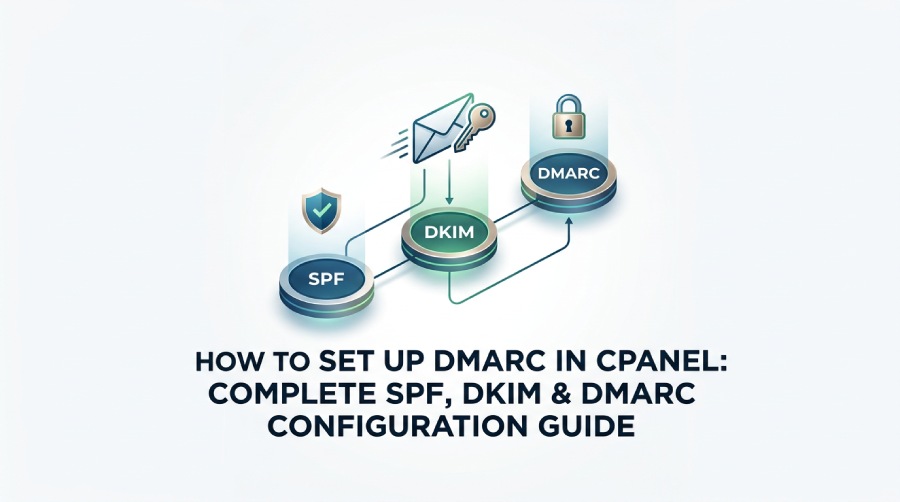
What DMARC Is and Why It Matters for cPanel Email Security
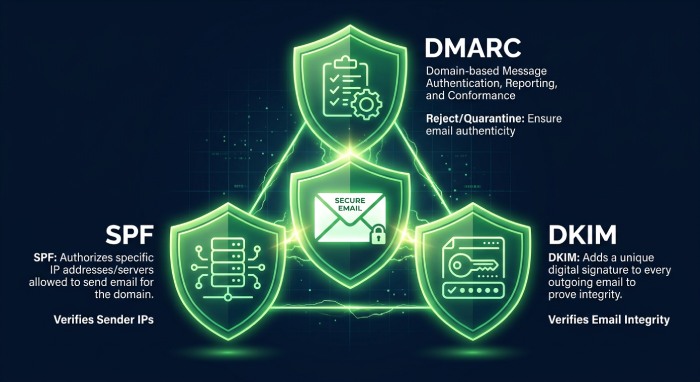
DMARC, short for Domain-based Message Authentication, Reporting, and Conformance, is an email authentication protocol that tells receiving mail servers how to handle messages that fail SPF or DKIM checks. In practical terms, a DMARC record helps protect your domain from email spoofing, improves email deliverability, and strengthens domain security by confirming whether a message is authorized to represent your sender identity.
In a cPanel environment, DMARC works alongside an SPF record and a DKIM record. SPF verifies whether a sending server is allowed to send mail for your domain. DKIM adds a digital signature to outgoing messages so the recipient can confirm the message was not altered in transit. DMARC evaluates SPF alignment and DKIM alignment, then applies a policy such as p=none, p=quarantine, or p=reject. If any of these terms are unfamiliar, our SPF terms glossary explains them in plain language.
For businesses using cPanel with Google Workspace, Microsoft 365, Gmail, or locally hosted mail, DMARC is essential for spoofing protection and phishing prevention. Without a valid DMARC record, attackers can impersonate your domain more easily, damaging email reputation and reducing trust with customers, vendors, and mailbox providers such as Google and Microsoft.
A basic DMARC TXT record usually includes the protocol version v=DMARC1, a policy, and reporting addresses. For example, a monitor mode DMARC record may use p=none while you review email reporting data. Later, you can move toward policy enforcement with p=quarantine or p=reject.
Reliable email security depends on correct email authentication, clean DNS records, and ongoing monitoring of your mail flow.
Before You Begin: DNS Access, Email Sources, and Record Planning
Before creating a DMARC record in cPanel, confirm where your DNS is hosted. Some domains use the cPanel Zone Editor, while others use external DNS providers such as Cloudflare, GoDaddy, Microsoft, or Google. If your nameserver points away from your hosting provider, adding a TXT record in cPanel may not affect live DNS. In that case, you must manage DNS records wherever the authoritative nameserver is located.
You should also identify every legitimate email source. This may include cPanel-hosted mail, Google Workspace**,** Microsoft 365, CRM platforms, marketing tools, billing systems, help desk platforms, or a subdomain used for transactional email. Missing a sender can cause SPF alignment or DMARC alignment failures and may disrupt mail flow once your policy becomes stricter.
For proper record planning, document:
- Your domain TLD, such as
.com,.net, or.org - Existing SPF record and DKIM record values
- Whether you use CNAME records for hosted services
- Which platform controls zone management
- Whether DMARC reporting should go to your own mailbox or a service such as PowerDMARC
A hosted DMARC provider, including the PowerDMARC platform, can simplify reporting, record management, and verification. The PowerDMARC portal, PowerSPF, and similar deliverability tool options are useful when you need visibility into authentication failures across multiple senders.
How to Enable and Verify SPF and DKIM in cPanel
Before adding a DMARC record, make sure SPF and DKIM are enabled. DMARC depends on SPF and DKIM results, so a broken spf record or dkim record can reduce email deliverability even if the DMARC record itself is syntactically correct.
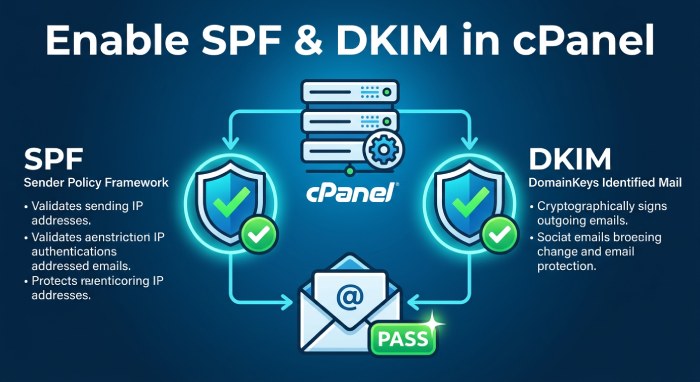 In cPanel, the main interface for this is usually the Email Deliverability tool. This tool checks your domain security status and recommends email authentication records. Depending on your hosting provider, such as InMotion Hosting or another WHM-based host, cPanel may show warnings and provide an option to install suggested record entries automatically.
Enable and Verify Your SPF Record
Open cPanel and go to Email > Email Deliverability. Select the domain you want to review. If cPanel detects a missing or invalid spf record, it may display a suggested TXT record. The SPF record usually starts with v=spf1 and lists permitted senders, such as your server IP address, Google Workspace**,** Microsoft 365, or another approved service.
If your DNS is hosted in cPanel, you can use Install Suggested Record or add the SPF TXT record manually in the Zone Editor. If DNS is hosted externally, copy the record value and add it at Cloudflare, GoDaddy, or your current DNS provider.
SPF Record Name, Type, and Value
For most root domains, the record name is your domain, such as example.com. The record type is TXT, the class is typically IN, and the record value contains the SPF mechanism. Avoid creating multiple SPF TXT records for the same hostname. Multiple SPF records can fail verification and harm email deliverability. Advanced deployments can also use SPF macros for dynamic, policy-driven records.
A correct spf record supports domain security by proving that authorized servers are allowed to send for your domain. It also helps DMARC evaluate SPF alignment, which means the domain in the envelope sender aligns with the visible From domain.
Enable and Verify Your DKIM Record
DKIM is also managed from the Email Deliverability tool in cPanel. A DKIM record publishes a public key in DNS, while your mail server signs outgoing messages with a private key. Receiving servers use the DNS key to validate the digital signature. If your provider does not create keys automatically, generate a signing key with our DKIM generator and publish only the public key.
If cPanel shows a missing dkim record, use Install Suggested Record when cPanel controls DNS. Otherwise, copy the generated record and create it with your external DNS provider. Some services publish DKIM as a TXT record, while others use a CNAME that points to a provider-controlled hostname.
DKIM Alignment and Digital Signature Checks
DKIM alignment matters because DMARC checks whether the DKIM signing domain aligns with the From domain. If you use Google Workspace or Microsoft 365, confirm that the dkim record is generated inside the Google Admin console or Microsoft 365 admin center, then published in DNS.
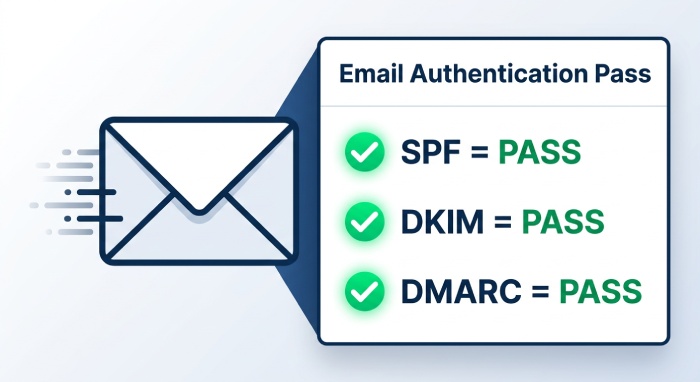
After DNS propagation, send a test message to Gmail or another mailbox and inspect the message headers. Look for dkim=pass, spf=pass, and eventually dmarc=pass. This verification step confirms that your email authentication foundation is working before you apply a stricter DMARC policy.
How to Create and Add a DMARC TXT Record in cPanel Zone Editor
To create a DMARC record in cPanel, open Domains > Zone Editor. Locate your domain and click Manage. This opens the zone management interface where you can add record entries for TXT, CNAME, MX, and other DNS record types.
Click Add Record and choose TXT as the record type. For the record name, enter:
_dmarc.example.comReplace example.com with your actual domain. The record value should begin with the DMARC protocol version:
v=DMARC1; p=none; rua=mailto:dmarc-reports@example.com; adkim=s; aspf=s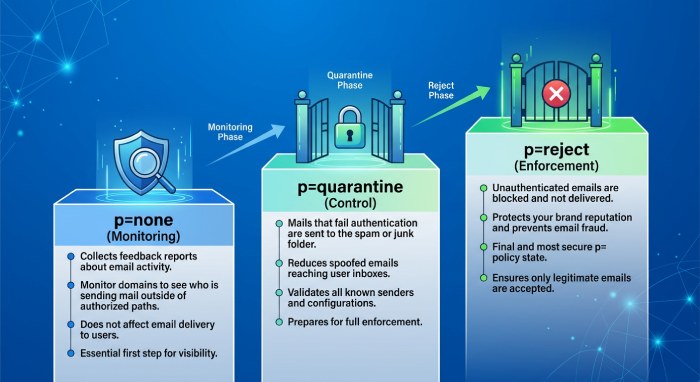 This creates a monitor mode DMARC record. The
 p=none policy tells receivers not to block mail yet, while still sending aggregate reporting data. The tags adkim and aspf define DKIM and SPF alignment modes. Strict alignment can improve domain security, but relaxed alignment may be safer during early deployment.
Once you understand legitimate mail sources, you can change the policy to p=quarantine, which asks receivers to place failing messages in spam, or p=reject, which requests full rejection. This staged policy approach protects mail flow while gradually increasing policy enforcement.
For a subdomain, you can add a separate DMARC record or use DMARC inheritance from the organizational domain. Advanced deployments may use PowerDMARC, hosted DMARC, or another deliverability tool to generate a recommended TXT record and interpret email reporting data.
A typical cPanel Zone Editor workflow looks like this:
- Log in to cPanel.
- Open Zone Editor.
- Select Manage for the domain.
- Choose Add Record.
- Set the record type to TXT.
- Enter
_dmarcas the record name if cPanel appends the domain automatically. - Paste the DMARC record value.
- Save and wait for DNS propagation.
Be careful not to create duplicate DMARC record entries. Only one DMARC TXT record should exist at _dmarc.yourdomain.com. Duplicate records can cause verification failure and reduce email deliverability.
Testing, Monitoring, and Troubleshooting Your DMARC Configuration
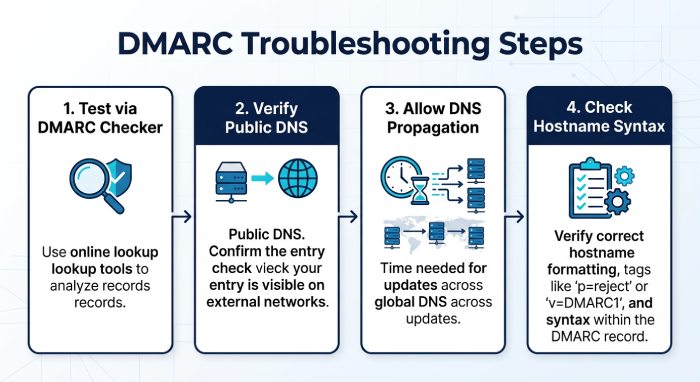 After adding the TXT record, test your DMARC record with a DNS lookup tool, a DMARC checker, or a platform such as PowerDMARC. You can also use cPanel Support documentation, WHM tools, and provider-specific guidance from Microsoft, Google, or your hosting company. Technical training resources from professionals such as Yunes Tarada, including CompTIA A+ and Azure Administrator Associate learning paths, can also help administrators understand DNS, authentication, and domain security fundamentals.
Check that the DMARC record returns correctly from public DNS. If it does not appear, confirm the authoritative nameserver, review the Zone Editor entry, and allow time for DNS propagation. Also verify that the TXT record is not accidentally created under the wrong hostname, such as _dmarc.example.com.example.com.
Common troubleshooting checks include:
- SPF record returns
passfor authorized senders. - DKIM record is published and messages show
dkim=pass. - DMARC record starts with
v=DMARC1. - The policy is valid:
p=none,p=quarantine, orp=reject. - Reporting addresses are valid and able to receive aggregate reports.
- SPF alignment and DKIM alignment match your sending architecture.
- cPanel Zone Editor changes are made at the active DNS provider.
 If you use third-party senders, confirm each one is included in the SPF record or configured with DKIM. Services such as Google Workspace*,** Microsoft 365, Cloudflare Email Routing, CRMs, and marketing platforms may require separate authentication steps.* PowerSPF can help flatten or optimize complex SPF configurations when too many includes create SPF lookup failures, or you can flatten your SPF record automatically to stay under the limit.
For ongoing monitoring, review email reporting data regularly. Aggregate reports show which systems are sending mail for your domain, whether they pass email authentication, and whether unauthorized sources are attempting email spoofing. Start with p=none, analyze reports, fix authentication gaps, and then move toward p=quarantine or p=reject when your domain security posture is ready.
General Manager
General Manager of DuoCircle. Product strategy and commercial lead for AutoSPF's 2,000+ customer base.
LinkedIn Profile →