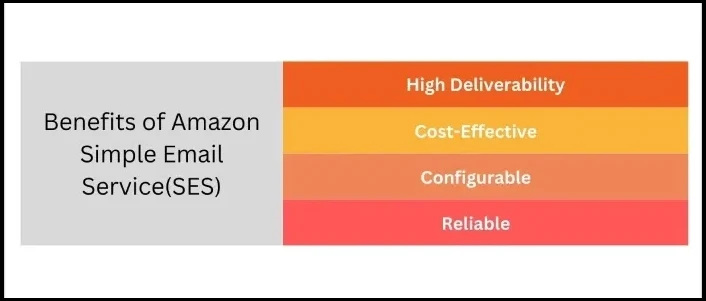
Amazon Simple Email Service, or SES, is a cloud-based email-sending service developed for businesses that send marketing, notification, and transactional emails. Regardless of the types of emails you send, it’s crucial to protect them from threat actors. Without proper protection, illegitimate emails sent on your behalf could end up in the inboxes of recipients, potentially damaging your reputation and business. That’s why we are providing you with easy steps to set up SPF for your Amazon SES account.
However, please note that if you send emails from subdomain.amazonses.com as your MAIL FROM domain, then you don’t have to set up SPF, as Amazon itself takes care of SPF for the domain.

But if your MAIL FROM domain is different, you need to go through this quick guide.
STEP 1: Verify Your Domain With Amazon SES
Here’s what you need to follow-
- Log in to your AWS Management Console and then sign in to your Amazon SES interface
- In the navigation panel, under ‘Identity Management,’ choose ‘Domains.’
- Choose ‘Verify a New Domain.’
- Enter your domain name, then select ‘Verify This Domain.’
- Amazon SES will provide a DNS record (TXT record) that you need to add to your DNS configuration. This record is used for domain verification.
STEP 2: Configure Your DNS Records
Once you have verified your domain, add an SPF record to your domain’s DNS settings.
- Log in to your DNS provider’s management console (e.g., Route 53, GoDaddy, Cloudflare)
- Navigate to the DNS management section.
- Add a new DNS record with the following details:
- type: TXT
- Name: @ (or your domain name, depending on the DNS provider)
- Value: “v=spf1 include:amazonses.com ~all”
STEP 3: Confirm the SPF Record
Make sure the SPF record is correctly configured by checking your domain’s DNS settings.
- Use tools like MXToolbox or other SPF lookup tools to verify the SPF record.
- Enter your domain name and check the SPF record to ensure it includes ‘include:amazonses.com.’
STEP 4: Test Email Sending
Lastly, test sending emails from your domain through Amazon SES. To do this, send a test email from an application or the SES console. Next, check the email headers of the received email to ensure that SPF passes. Look for ‘Received-SPF: pass’ in the email headers.
How to Set Up the MAIL FROM Domain?
- Go to your Amazon SES console and choose domains from the Identity Management section.
- Check and confirm whether the parent domain of the MAIL FROM domain is a part of the list of validated domains.
- Select the MAIL FROM domain from the menu.
- Perform the following steps on the Set MAIL FROM Domain Window–
- Mention the subdomain you want to use as the MAIL FROM domain for emails sent on your behalf.
- Then a new window will open that will show the SPF and MX records for your domain’s DNS setup.
Here’s the format of these records-
| Name | Type | Value |
| subdomain.domain.com | MX | 10 feedback-smtp.region.amazonses.com |
| subdomain.domain.com | TXT | v=spf1 include:amazonses.com -all |
- Publish an MX record in the DNS server of the unique MAIL FROM domain.
If all this sounds too complicated for you to handle, then our team at AutoSPF can manage it on your behalf. Contact us to discuss more.

