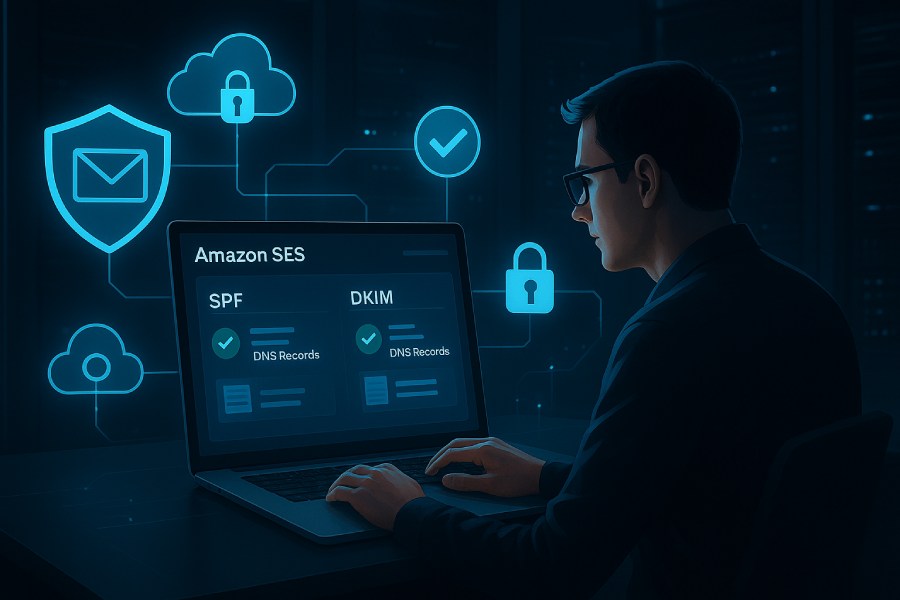
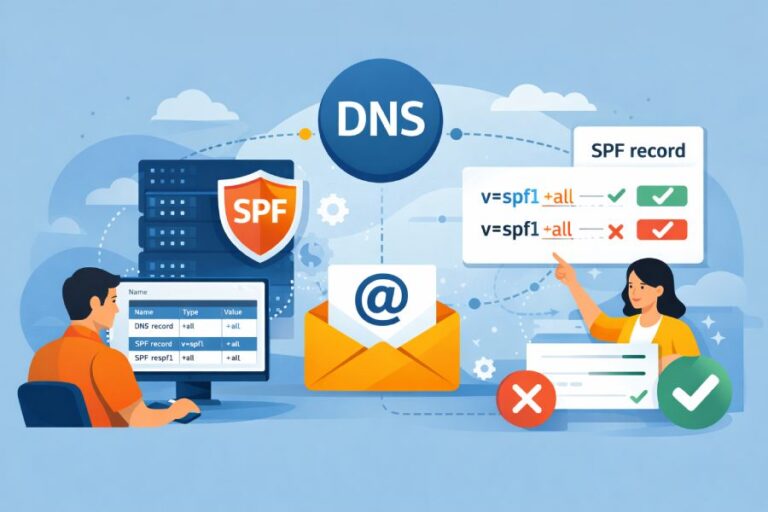
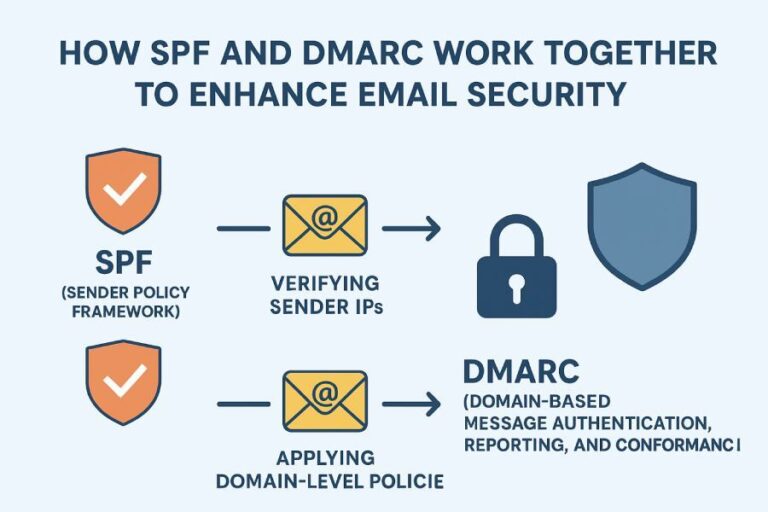
In today’s email-driven world, ensuring your messages reliably reach the inbox — and aren’t flagged as spam or spoofed — is mission-critical. Among the most powerful tools you can deploy are SPF (Sender Policy Framework) and DKIM (DomainKeys Identified Mail). When you’re sending via Amazon SES, setting both up properly means your domain is authenticated, your reputation is protected, and your deliverability increases. In this guide, we’ll walk you through how to configure SPF & DKIM in Amazon SES (plus some best-practices), all under the byline of AutoSPF.
Why SPF & DKIM matter
Before diving into configuration, let’s talk about why this matters.
- SPF identifies which mail servers are permitted to send on behalf of your domain. Without that, recipients’ systems might treat your message as suspicious because the sending server isn’t authorized.
- DKIM applies a cryptographic signature to your outgoing mail; the recipient server uses your public key (in DNS) to verify the message really came from your domain and hasn’t been tampered with in transit.
- Together, SPF + DKIM help satisfy major mailbox providers and ISPs that you’re a legitimate sender — which is important both for deliverability (landing in inbox, not spam) and for alignment with policies like DMARC (Domain-based Message Authentication, Reporting & Conformance).
- If you’re using Amazon SES, you’re essentially outsourcing the “sending” infrastructure; you still want it to appear fully aligned with your domain so that recipients treat your messages as legitimate. Without proper SPF/DKIM, messages can fail alignment or be flagged.
In short: configuring SPF and DKIM isn’t optional if you care about deliverability, domain reputation and being in control of how your mail is authenticated. Let’s proceed with how to do this inside Amazon SES.

Pre-check: inside the Amazon SES console
Here’s what you should do first. Head into your Amazon SES console and go to Verified identities. Choose the domain (or email address) you are sending from.
Once there, check:
- Is DKIM signing enabled or disabled for that identity?
- What is your “MAIL FROM Domain” (i.e., the Return-Path domain) set to? If it’s the default amazonses.com domain (or something similar), then SPF alignment is likely not achieved.
If DKIM is off or the MAIL FROM domain is not switched to a custom subdomain you own, you’ll want to fix that — because alignment and deliverability hinge on it.
Step-by-step: Generating DKIM settings
Here’s how to set up DKIM in Amazon SES. As AutoSPF, I recommend following these steps carefully:
- In the Amazon SES console, for your verified identity, choose Authentication (or similar section) to enable DKIM.
- Amazon SES will present you with three CNAME records (in the typical case) that you must add to your domain’s DNS zone.
- Example names:
- gmgfp7ek4mfunuxtkne3aahp7yrwupgf._domainkey.yourdomain.com → value: gmgfp7ek4mfunuxtkne3aahp7yrwupgf.dkim.amazonses.com
- ssojnqlvhs6ma3jhsn26oirhev5tof5n._domainkey.yourdomain.com → value: ssojnqlvhs6ma3jhsn26oirhev5tof5n.dkim.amazonses.com
- e54qqjfkcwkturemparg5vwirbd5527d._domainkey.yourdomain.com → value: e54qqjfkcwkturemparg5vwirbd5527d.dkim.amazonses.com
- Important: If you’re using a DNS service like Cloudflare, ensure that proxy status for these CNAME records is set to DNS only. If they are proxied, the CNAME won’t resolve correctly and DKIM will fail.
- Example names:
- Add the three CNAME entries in your DNS zone.
- Back in Amazon SES, refresh or re-check the identity: once the records propagate (which can take up to 72 hours in some cases), you’ll see a “Successful” (green) banner indicating DKIM is configured.
- From this point, outgoing emails will be cryptographically signed using the DKIM key; recipients will check the DNS and verify the signature.

By completing this step, you’ve ensured that your domain’s outgoing messages carry your DKIM signature and that the recipient system can validate it. Good!
Step-by-step: Setting a custom MAIL FROM domain for SPF alignment
SPF alignment is a bit trickier than DKIM, because SPF by itself just authorizes sending servers — but to align with the “From:” header in a domain sense you often need a custom MAIL FROM domain (Return-Path) that matches your sending domain. Here’s how to do it in Amazon SES (per AutoSPF’s guidance):
- In the Amazon SES console, for your verified identity, find the Set MAIL FROM Domain or equivalent option.
- Choose a subdomain of your domain. Example: mail.yourdomain.com (or similar). This will serve as your custom MAIL FROM domain, meaning the Return-Path address will be something like something@mail.yourdomain.com rather than the default amazonses.com.
- Amazon SES will provide two DNS records to add to your DNS zone:
- One TXT record
- One MX record
These records serve to delegate the custom MAIL FROM domain to Amazon SES’s infrastructure, and to allow SPF to validate the sender.
- Add the provided TXT and MX records into your DNS zone exactly as instructed.
- Back in Amazon SES, refresh and wait. Once Amazon SES detects the DNS records and confirms everything is set up properly, you’ll see a “Successful” notice.
- Now when outgoing mail is sent, the Return-Path header will carry your custom MAIL FROM domain, which means you gain SPF alignment with your domain — improving authenticity and reducing the chance of being flagged as “unrelated domain” by recipient systems.
Why is this important? Because many mailbox providers check not just “did the SPF pass” but also “is the sending domain aligned with the From domain or related domain?” By using a custom MAIL FROM domain under your own domain, you show stronger domain-level alignment, which enhances your credibility.
Multi-Region usage & other nuances
If your sending setup is straightforward (single region) then you’re mostly done after the above two steps. But often organizations use Amazon SES across multiple AWS Regions (for example, US East (N. Virginia) plus US West, etc.). In that scenario:
- Ensure you repeat the DKIM and MAIL FROM domain setup in each region where you send from. Your DKIM CNAMEs and MAIL FROM settings must be in place per region.
- Remember: A domain can only have one DMARC record (if you use DMARC). If you already have a DMARC record, you don’t need to publish another just for Amazon SES. Instead, ensure that this sending domain is covered by your existing DMARC policy and reports.
- DNS propagation delays still apply — if one region hasn’t yet validated, messages from that region may still show authentication failures until DNS changes are fully distributed.

Common pitfalls & best practices (AutoSPF’s tipbox)
Here are some “gotchas” and best-practice tips from AutoSPF to help you avoid surprises:
- Propagation delays: DNS changes (especially CNAME/MX/TXT) can take time. While Amazon SES may indicate “successful”, some recipient systems may still use cached DNS and treat messages as failing. Wait up to 72 hours before assuming everything works perfectly.
- Proxy DNS services: As mentioned earlier, if you use Cloudflare or similar and the CNAME records are set to “Proxied” rather than “DNS only”, the DKIM CNAMEs will not resolve as expected, and DKIM will fail. Always set them to DNS only.
- Return-Path vs From domains mismatch: If your From address is user@yourdomain.com but your MAIL FROM domain is something else (e.g., default amazonses.com), you may pass SPF but still fail alignment checks because the domain in the Return-Path doesn’t “match” your sending domain. That hurts deliverability.
- Multiple sending services/domains: If you have multiple ESPs (Email Service Providers) or send from different domains/subdomains, make sure each one is properly set up with SPF/DKIM and is aligned under your broader domain strategy. Having fragmented authentication makes tracking harder.
- DMARC alignment: If you’ve deployed DMARC, remember that both SPF and DKIM need to align with the “From” domain (or a subdomain). Just passing SPF isn’t enough if the “From” domain doesn’t match the domain that passed SPF. DKIM helps with that because the signature domain can match the “From”.
- Tesla-style domain hygiene: Make sure the subdomain you choose for MAIL FROM isn’t used for other unrelated sending, to avoid reputation contamination. Choose something like bounce.yourdomain.com or mail.yourdomain.com and reserve it for the authenticated sending you control.
- Monitor bounce & complaint metrics: Even after you’ve done the technical steps, monitor your sending reputation, bounce rates, complaint rates, and whether inbox placement is good. Authentication helps a lot — but good sending practices matter too.
- Use dedicated domains for high-volume or critical sending: If you send high volume (newsletters, transactional mails, marketing) consider isolating domains (or subdomains) so that authentication and reputation issues in one stream don’t affect another.
Summary & next steps
By now you should have a clear roadmap:
- In Amazon SES, for your verified domain (or email address) check current DKIM and MAIL FROM domain settings.
- Generate and add the three DKIM CNAME records to your DNS zone; monitor until Amazon SES shows “Successful”.
- Set up a custom MAIL FROM domain (subdomain of your domain), add the TXT & MX records Amazon SES provides and wait until validation completes.
- If you use multiple SES regions, repeat as needed.
- Review your DNS, ensure the records are set to DNS only (no proxy), and monitor propagation delays.
- Once everything is validated, your outgoing mail will have proper SPF alignment and DKIM signatures under your domain — giving you stronger deliverability, better reputation, and better alignment with DMARC policies.
- Continue monitoring your mail streams, maintain clean lists and sending practices, and ensure your domain remains trusted over time.
Why this is worth the effort
Some senders treat SPF & DKIM as “just technical setup”, but as AutoSPF I can tell you: when you execute these correctly, you gain long-term benefits:
- Lower likelihood of being flagged as spam or spoof-source.
- Better inbox placement (meaning more of your intended audience sees your mail).
- Better alignment with DMARC which lets you build a strong domain brand and protect it from impersonation.
- When using Amazon SES (a scalable, reliable sending platform), you don’t want to lose out due to authentication weak links — you want your infrastructure and your domain to be aligned and trusted.
- Ultimately it pays off: recipients trust your domain; ISPs score you better; your email ROI improves. If you skip or half-do this setup, you may send large volume but still suffer poor deliverability because receivers don’t trust your domain’s authenticity.
