Creating an SPF record is a one-time job, but you have to keep updating it with new senders. In an SPF record, the term ‘sender’ refers to the IP addresses, domains, or mail servers you recognize and officially allow to be used for sending emails on behalf of your business.
These senders include direct IPs if your business is involved in hosting its email server on-site. Static IP from a cloud server or specific IPs should also be listed in your SPF record for services that provide dedicated IP addresses for sending emails.
If you have delegated the responsibility of sending emails to a third party (like Google Workspace, Microsoft 365, or email marketing platforms like Mailchimp or SendGrid), then their sending sources should also be mentioned in your SPF record; otherwise, legitimate emails sent by them will fail SPF authentication checks.
Whenever you have a new sender, you’ll need to add them to your SPF record. This blog explains the process in simple steps.
1. Identify new sender IPs or domains
Before you add any new senders, confirm whether they provide dedicated IPs or shared IP pools. This is because some email service providers or marketing platforms give you a range of IP addresses to add to your SPF record rather than a single string.
You also need to know if these new senders’ IPs are static or dynamic. If they are dynamic, then use the ‘include’ statement because these IPs change frequently.
2. Access your DNS management console
Log into your domain registrar or hosting provider and go to your DNS records panel. Look for a tab where you can view and edit TXT records, A records, MX records, etc. Each DNS provider may label SPF records differently. While SPF was once a unique record type, it’s now specified as a TXT record containing SPF syntax, so look for any existing TXT records to avoid duplicates.
3. Locate the existing SPF record
SPF records begin with v=spf1, indicating the SPF version (currently, only SPF version 1 is in use).
Typical elements of an SPF record:
- ip4:<IP address>: Specifies an IPv4 address allowed to send email using your domain.
- ip6:<IP address>: Specifies an IPv6 address allowed to send email using your domain.
- include:<domain>: Instructs that any IP addresses allowed by the included domain’s SPF record are also allowed to send on behalf of your domain.
- all: Specifies what to do with emails that don’t match any listed IPs or domains. Options include:
- -all: Hard fail – Reject unauthorized emails.
- ~all: Soft fail – Mark unauthorized emails as potentially suspicious.
- ?all: Neutral – No strict enforcement; often used during SPF testing.
Example of an SPF record for ‘example.com’ domain-
v=spf1 ip4:192.168.1.1 include:example.com -all
4. Update the SPF record with new sender information
If the new sender has provided an IP address, add it to your SPF record using the ip4 or ip6 mechanism, depending on the type of IP address. If the sender provides a domain to include, use the include:<domain> directive.
While you update the SPF record with new senders, ensure it ends with ‘~all’ or
-all.’ ‘~all’ indicates a Soft Fail, which means you instruct the receiving server to mark unauthorized emails from your domain as spam. Meanwhile, ‘-all’ indicates a Hard Fail, instructing the receiving server to reject the entry of unauthorized emails.

5. Save the updated record
Once you have made the changes, save the SPF record. Wait for 24 to 48 hours for the changes to propagate globally. These changes are usually updated within minutes to a couple of hours.
6. Test and validate the changes
After making the necessary changes and saving the updated record, it’s important that you run it through an SPF lookup tool like MxToolbox SPF Checker, Google G Suite Toolbox, Kitterman SPF Validator, etc. This practice helps you know if any configurational or syntactical errors exist in your SPF record. These tools verify the included domains and report on lookup counts.
Best practices for the best protection
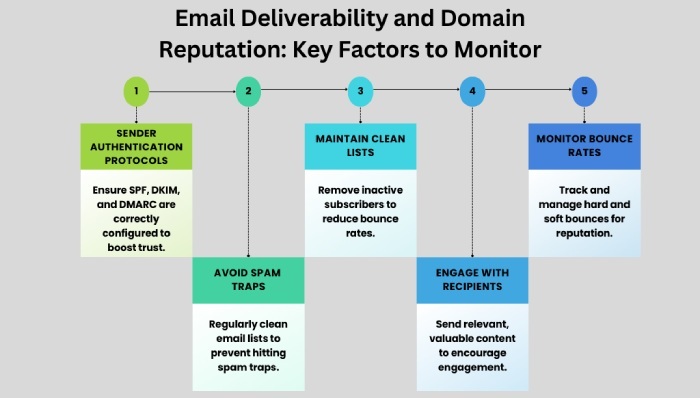
Take care of the technical considerations so your SPF record stays accurate and free from common pitfalls. A healthy SPF record leads to good email deliverability and domain reputation.
DNS records should ideally have a maximum of 255 characters per line. If your SPF record is getting longer, use subdomains for separate devices and consolidate IP addresses into CIDR ranges.

Another element you must be cautious of is staying within the DNS lookup limit of 10. Each ‘include,’ ‘a,’ ‘mx,’ and some other mechanisms count as a DNS lookup. If your SPF record exceeds this limit, remove unnecessary includes or work with an email service provider to consolidate IP ranges. Overloading the SPF record can lead to SPF PermError, causing authentication failures. You can also use our SPF flattening tool to fix this problem.


