To enable SPF for your domain, you need to add a DNS TXT record at your domain provider. When doing so, keep the following points in mind to ensure everything works efficiently and there are no security gaps.
- The field names of the steps could differ depending on your domain provider. DNS TXT record field names vary from domain provider to domain provider.
- Some domain providers require the SPF record value to be enclosed in quotes. Check this beforehand at your domain provider’s website or get in touch with one of their representatives.
- After adding the record, it’s important to note that the information can take up to 48 hours to propagate across the internet. This propagation period is crucial for the SPF record to take full effect.
Add your SPF record
Use your credentials to sign in to your domain host’s management console and locate the option/page to update the DNS TXT records. Enter the following values-
| Field name | Value to enter |
| Type | TXT |
| Host | @ |
| Value | v=spf1 include:_yourdomain ~all |
| TTL | 1 hour or 3600 seconds If your domain provider doesn’t let you modify the value for this field, use the current value. |

Turning off SPF
It’s not recommended to turn off SPF, as an unprotected domain is highly prone to spoofing, phishing, and ransomware. However, if you must turn it off, then simply delete the SPF record at your domain provider
SPF for subdomains
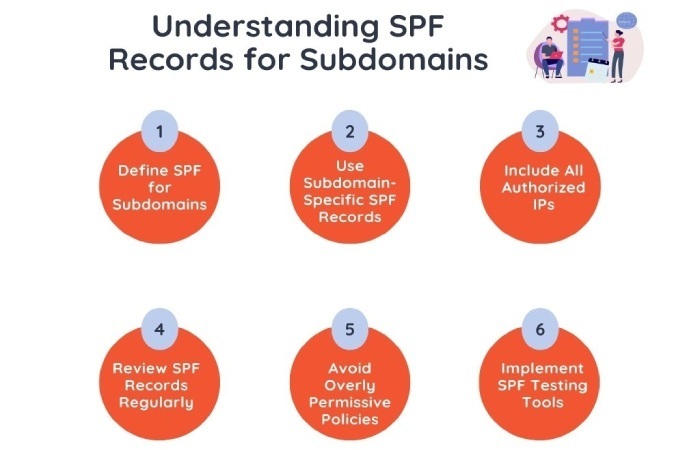
When you add an SPF record to your domain, it doesn’t automatically apply to subdomains. Check with your domain provider to see if they allow SPF records for subdomains.
To add an SPF record to a subdomain
If your provider supports this, find the subdomain in the management console and add the SPF record. Example: For the domain ‘example.com,’ you can add an SPF record for ‘recruitment.example.com’ in the console.

If your provider doesn’t support direct SPF records for subdomains
Add another SPF record to your main domain, but change the Host setting to the subdomain. Example: For ‘recruitment.example.com,’ enter ‘recruitment’ in the Host field instead of ‘@.’
Updating your SPF record for added senders
If you don’t update your SPF record, any message sent by the new senders will be either marked as spam or rejected.
Go to your domain provider’s management console and locate the DNS settings for your domain. Once you locate the SPF record, add the new sender’s domain or IP address. Let’s say your existing record is v=spf1 include:example.com ~all, and you need to add a new sender sender.com, update it to v=spf1 include:example.com include:sender.com ~all.
Once you’ve made the changes, save them, and the SPF record will be updated in your DNS settings. We suggest that you use an SPF record lookup tool or an automatic SPF flattening tool to ensure that the updated record is devoid of any syntactical and configurational errors and that it is functioning properly to ward off phishing and spoofing attempts.
If you face any issues, it’s best to connect with your domain provider’s support team.


